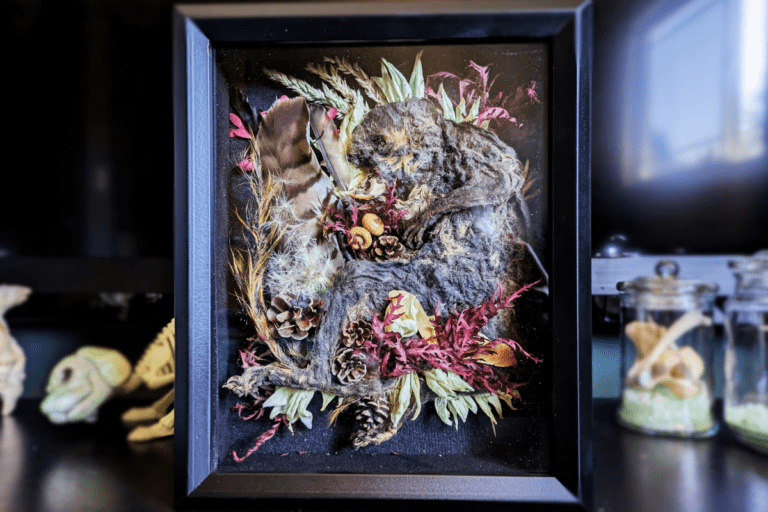
CW: Graphic Images in this Post!
Now that I have a higher energy dog, she has prompted me to take much more frequent walks. These have turned out to not only be a significant boost for my mental health and fantastic opportunity for contemplation, but also I have found so many treasures along the way.
One of the most exciting treasures we have discovered so far is *drumroll* a dead mole! He was discovered lying on the side of the bike path that is our daily route.
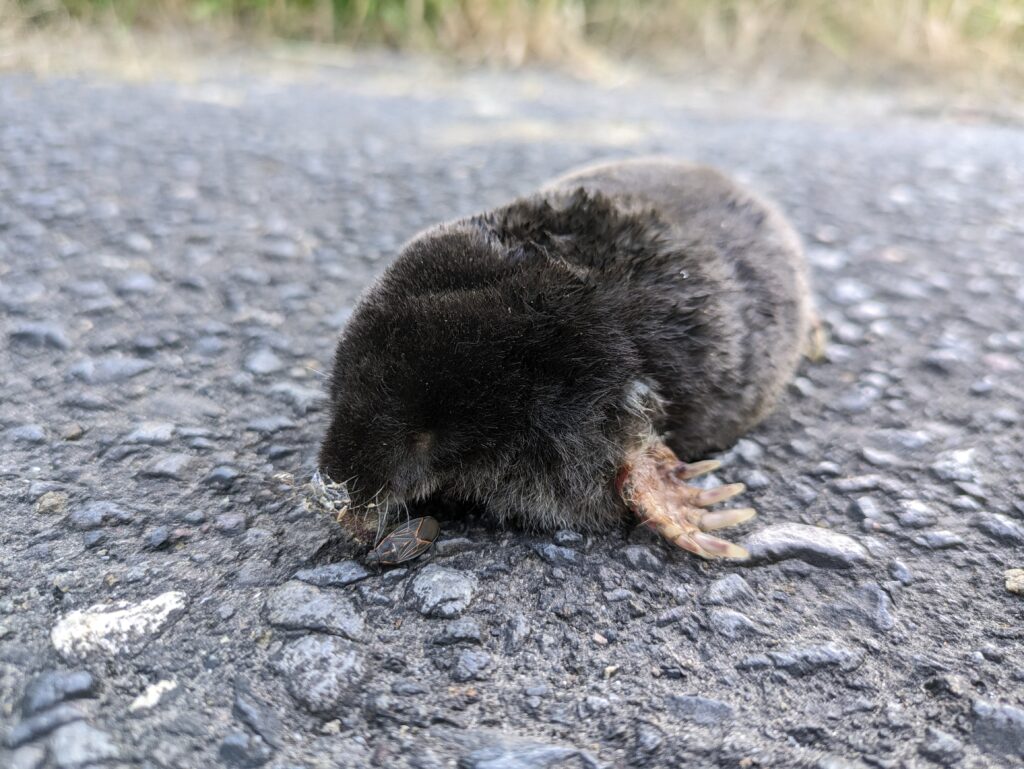
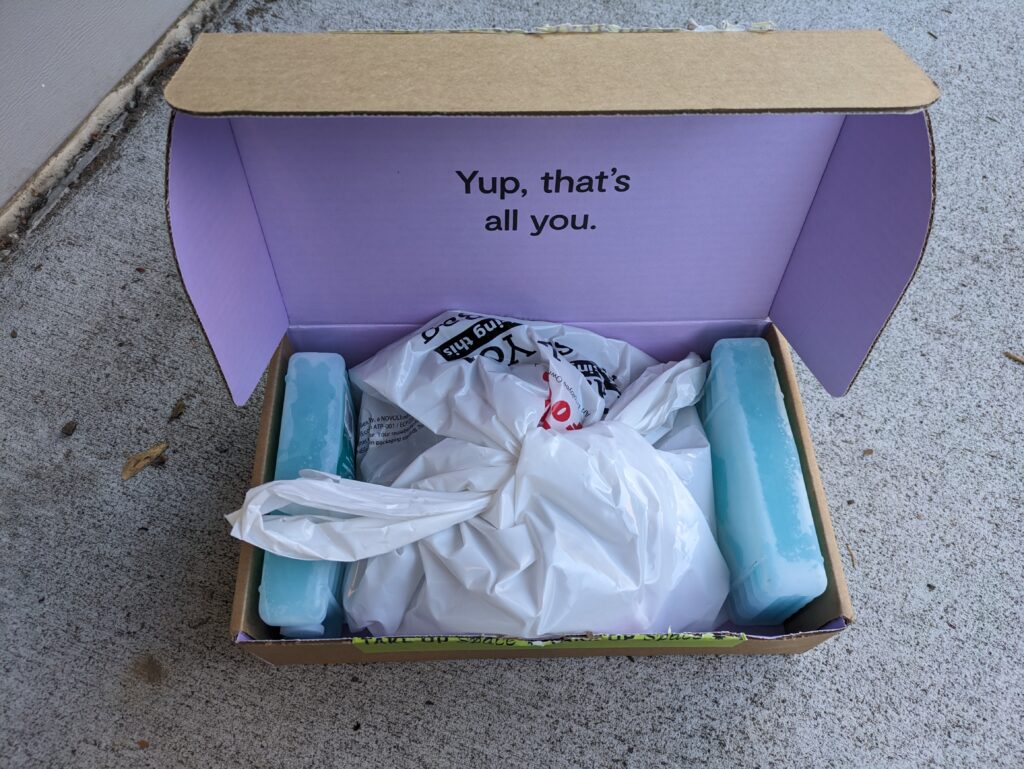
Fortunately I always have a roll of waste bags on hand, so I was able to scoop him up in a couple and carry him home without too much concern over safety.
When we got home, it was late and I was tired. From prior experience, I knew that preparing this guy for articulation would be time and effort intensive. Rather than rush a job that should not be rushed, I packed him on ice for the night to minimize the smell and slow decomposition, securing him in my shed so that no opportunistic scavenger made away with him overnight.
Preparing the Skeleton
The process I follow when articulating small skeletons is known as the “oxidation method”. I first discovered this method on TheBoneman.com, and it has become my favorite way to articulate skeletons. I like it because I find satisfaction in the process, and because it makes the final step of articulation as simple as securely positioning the skeleton for drying in the desired pose.
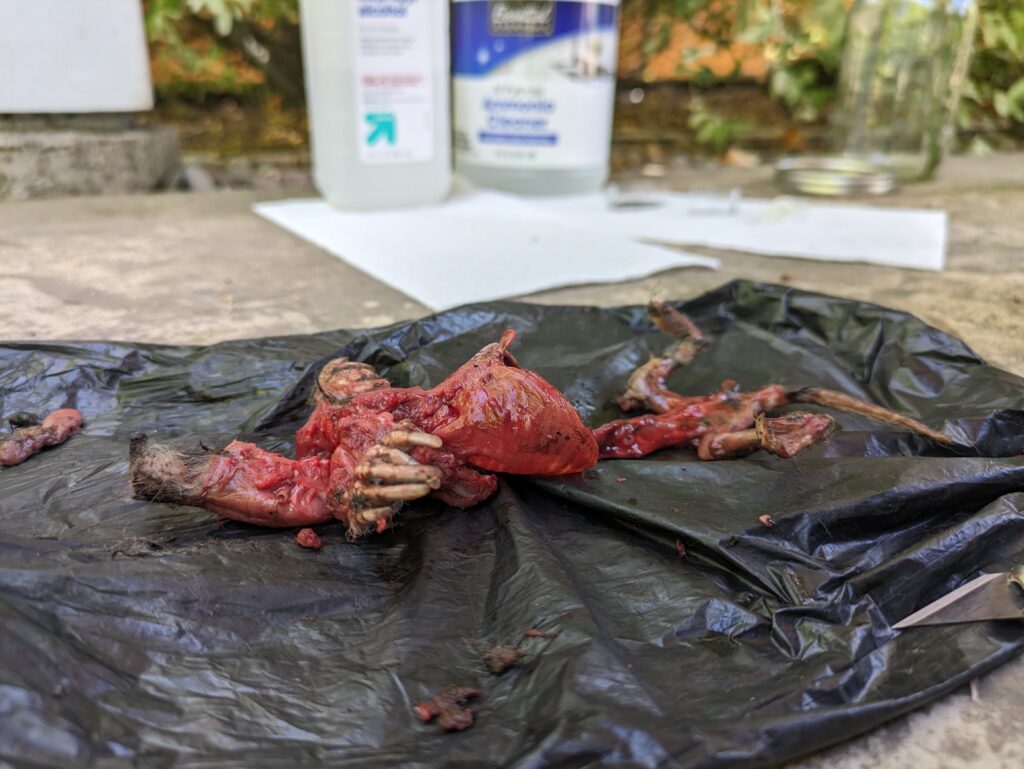
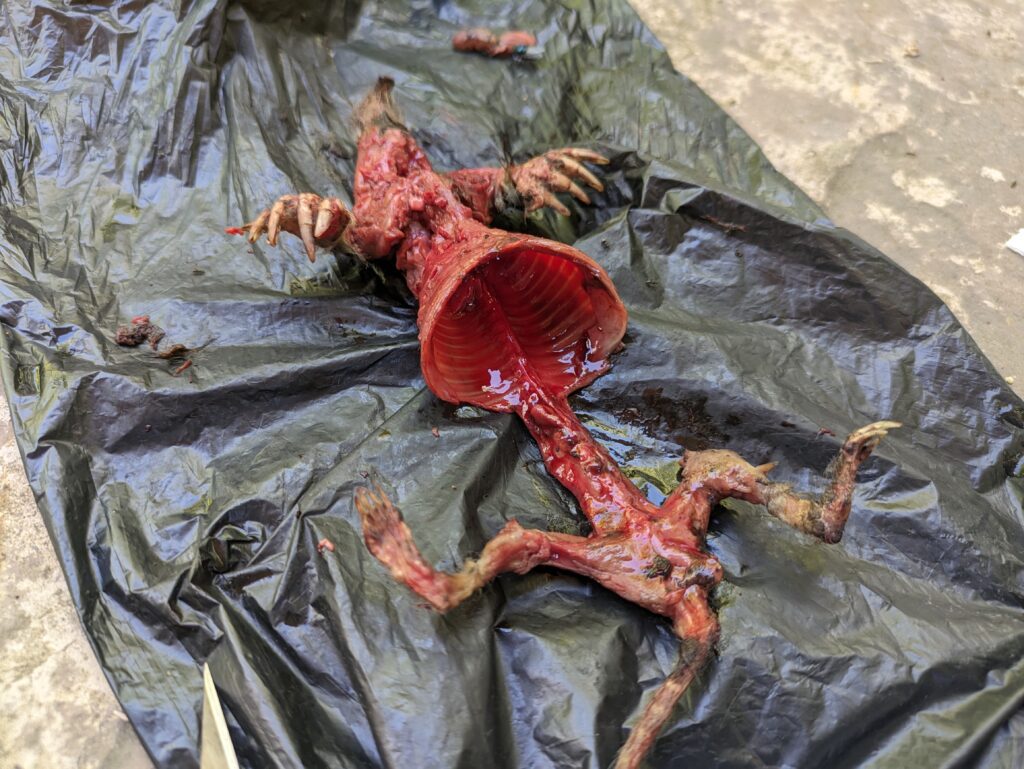
Step one for this method is removing all the skin, muscles, connective tissue, and organs possible without damaging the skeleton and without compromising the connective ligaments and cartilage, which is what will eventually hold the bones together.
This is a slow and patience-intensive process. It’s also fairly smelly. Wearing gloves, eye protection and a mask is an must for comfort as much as safety considerations. That being said, I love this step of unraveling a body. It’s so utterly fascinating and beautiful, to see how a being is designed. For example, the shoulder structure of moles threw me for a loop compared with other skeletons I have worked on, they are extremely compact and dense with muscle and bone.
Cleaning with Ammonia
Upon completing this first step, I also was able to identify the apparent cause of death. It would appear that this poor mole had his skull crushed, probably by a bike or pedestrian based on where I found him. Fortunately I was able to minimize the damage by being delicate around the skull.
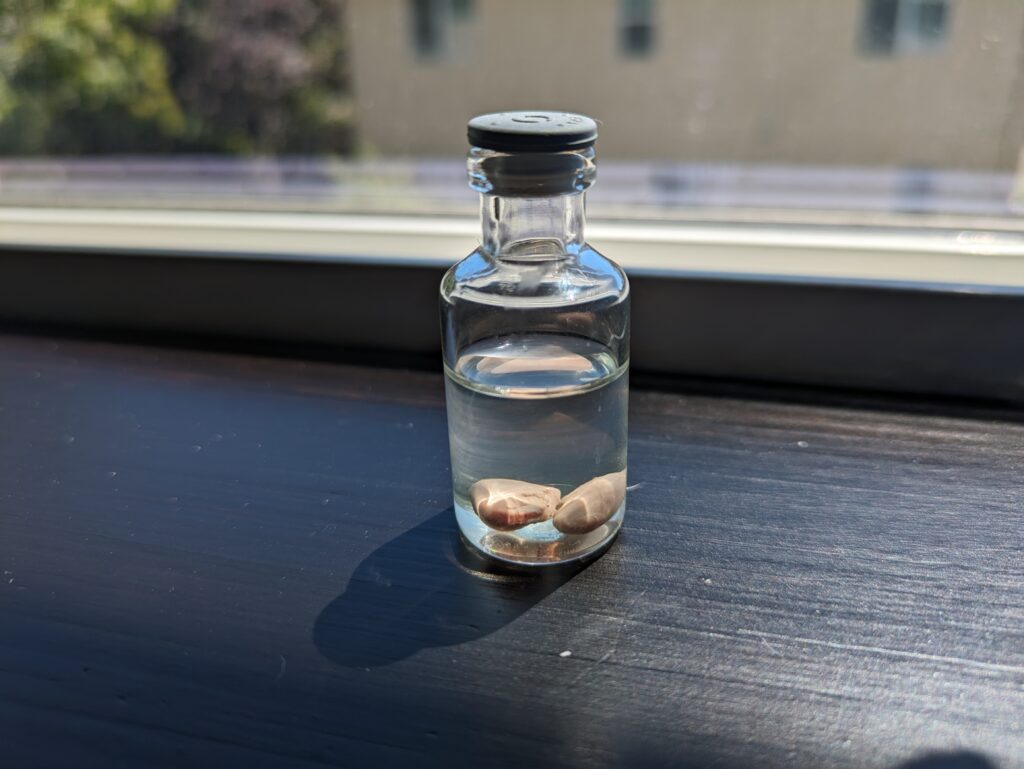
Now that I had taken the first pass at cleaning the skeleton and preserved all the organs I felt were worth saving in alcohol, it was time to move on to the next step: soaking the remains in ammonia. This step helps dissolve the soft tissue from around a skeleton and also helps sanitize the remains.
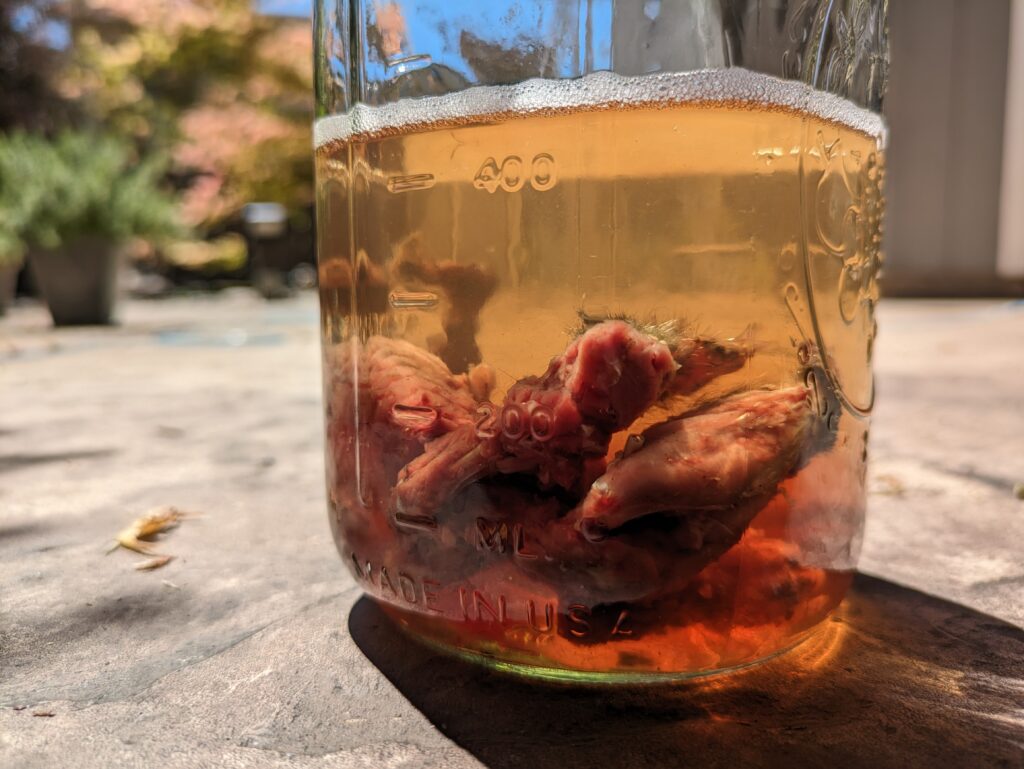
I have a few old jars I have recycled for this process, when dealing with any kind of harsh chemical or other nastiness glass is my preference. I used just a standard household ammonia concentration that you can get from any grocery store, and I generally soak the remains for one to two weeks, depending on the size. This guy ended up getting soaked for one week, although, he really could have gone for two. Alas, my impatience strikes again.
Dissolving with Hydrogen Peroxide
After the ammonia soak, it was time to rinse the remains before going back to remove whatever remaining flesh had been softened. For this and all other flesh removal steps, I use a combination of a scalpel and cuticle scissors. I would like to get some good forceps and maybe another tool or two for detail work, but it’s a work in progress.
Once the additional flesh has been cleaned, the remains go into a 3% hydrogen peroxide solution. This is where the magic really starts happening.
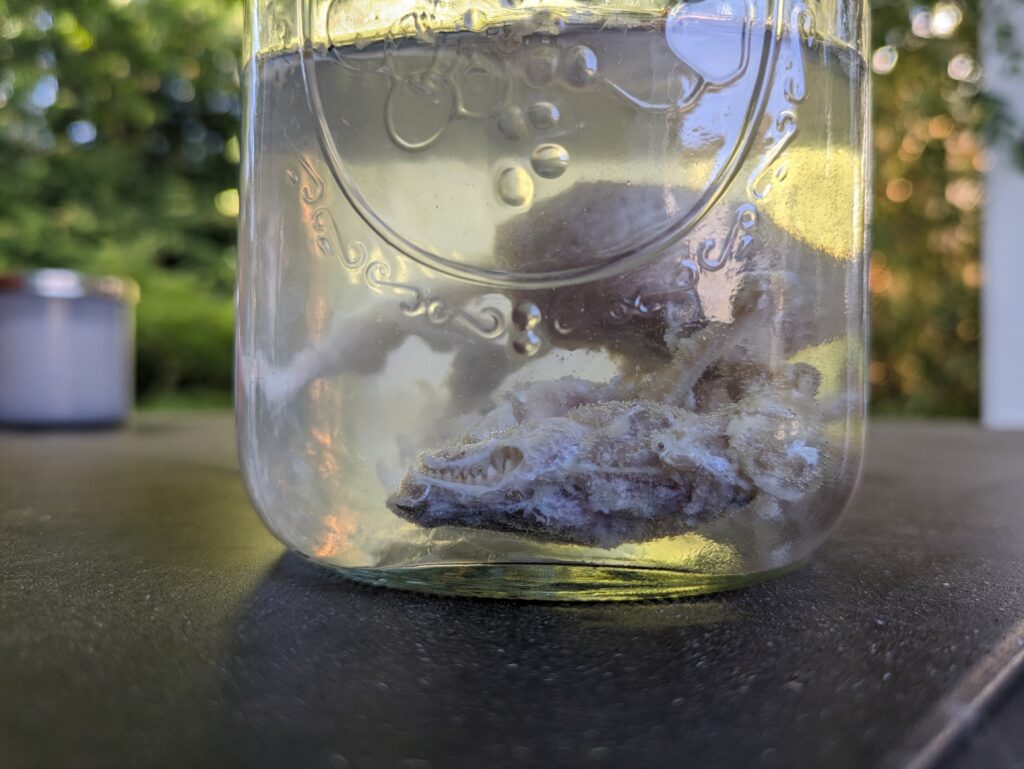
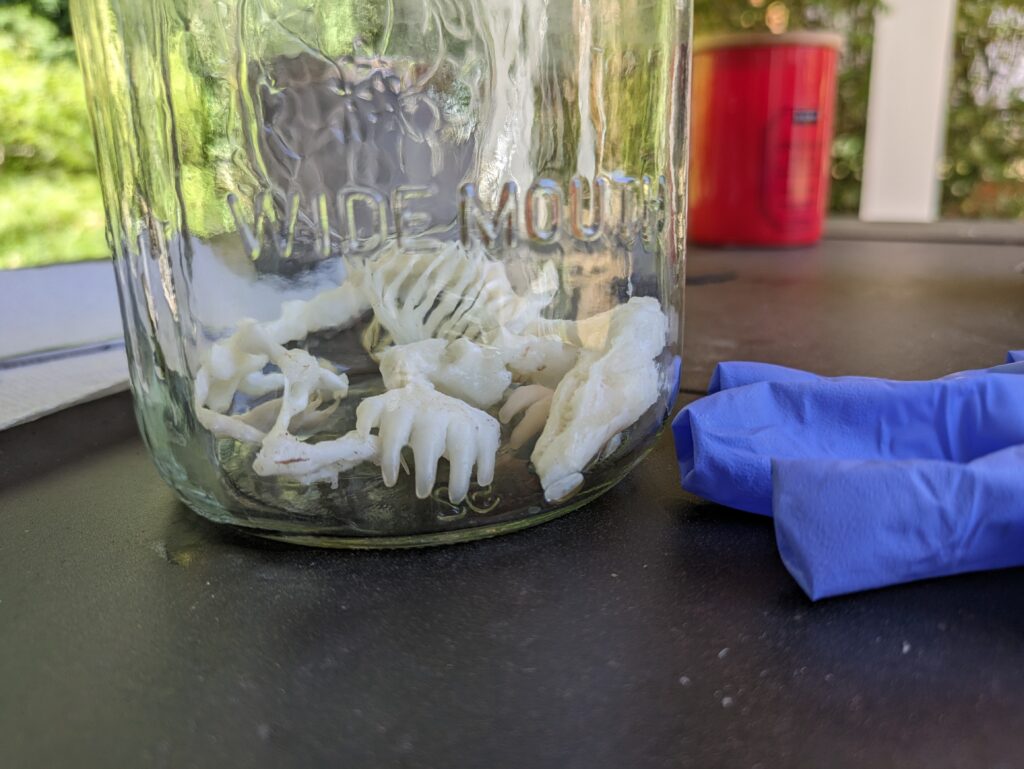
As it soaks, the remaining flesh balloons up into a white, spongy consistency. It makes everything cleaner and eliminates any lingering smell. At this point we will alternate between soaking and removing additional flesh in stages, I usually do this a couple times a week until I reach the desired level of cleanliness.
It took me a while to find the sweet spot. If you remove too much, especially around the joints, you can compromise the final articulation strength. Remove too little, and you will have dried flesh gumming up your final skeleton. The good news is that, if you are careful, there is a lot of flexibility to learn since you can always super glue weak joints and cut off excess flash with a sharp knife.
Posing and Drying
Once you have removed the right amount of remaining flesh, it’s time to rinse, pose the skeleton, and let it cure. This is a step I’m still trying to get the hang of. Reference photos always help.
I usually use a combination of Styrofoam, cardboard and pins to hold the skeleton in my desired pose while it dries. The tricky part here is that the cleaned and wet skeleton is *extremely* limp and difficult to secure in the desired pose.
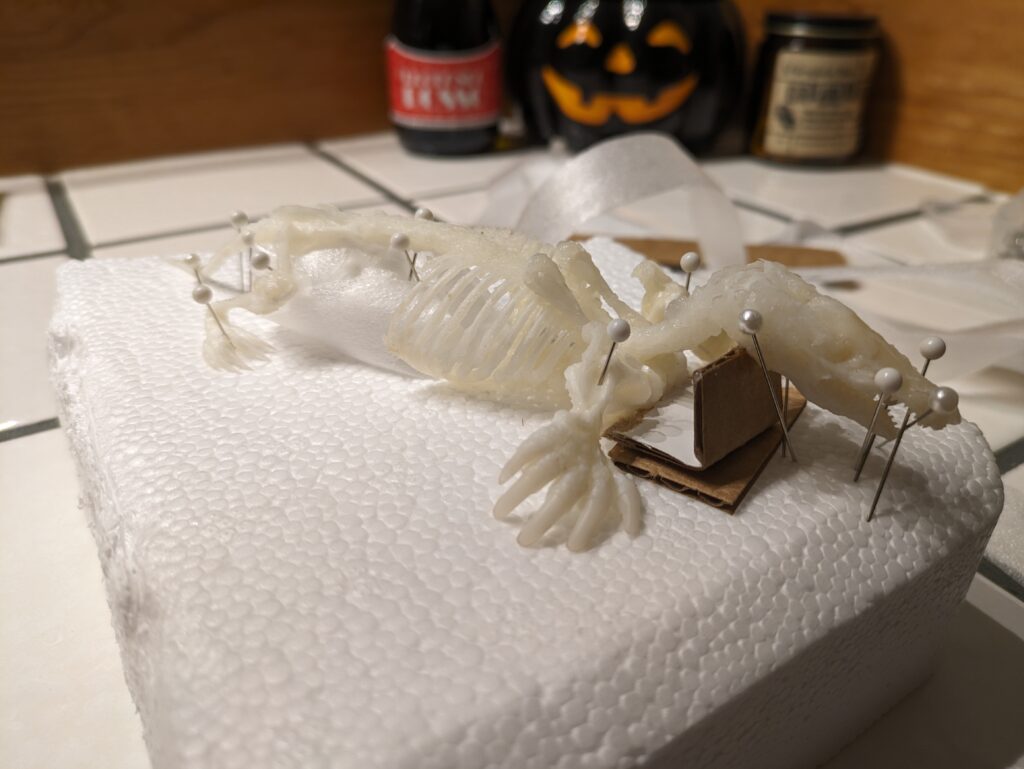
Another thing to remember is that, especially when using paper towels and cardboard, the remaining flesh and connective tissue will stick to them as everything dries and you could damage the bones when you try to pull it away. That is another reason I try to mostly use pins and Styrofoam.
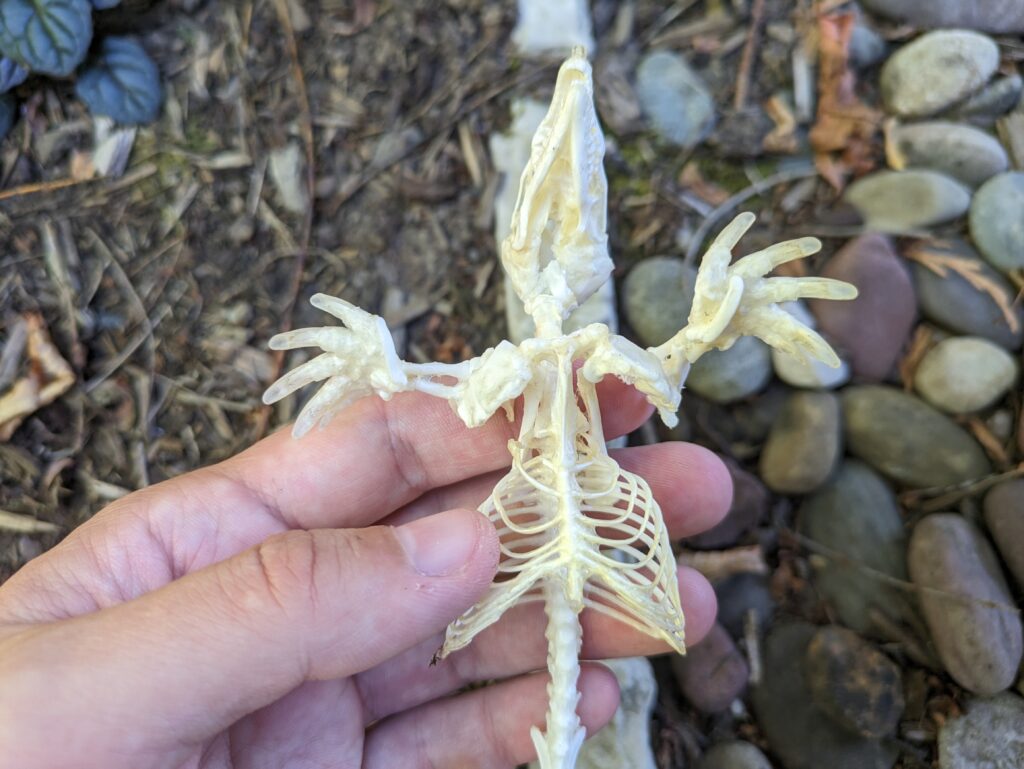
It is so satisfying to watch it dry, the remaining puffy flesh conforms to the bones like shrink wrap, which is the process that holds everything together.
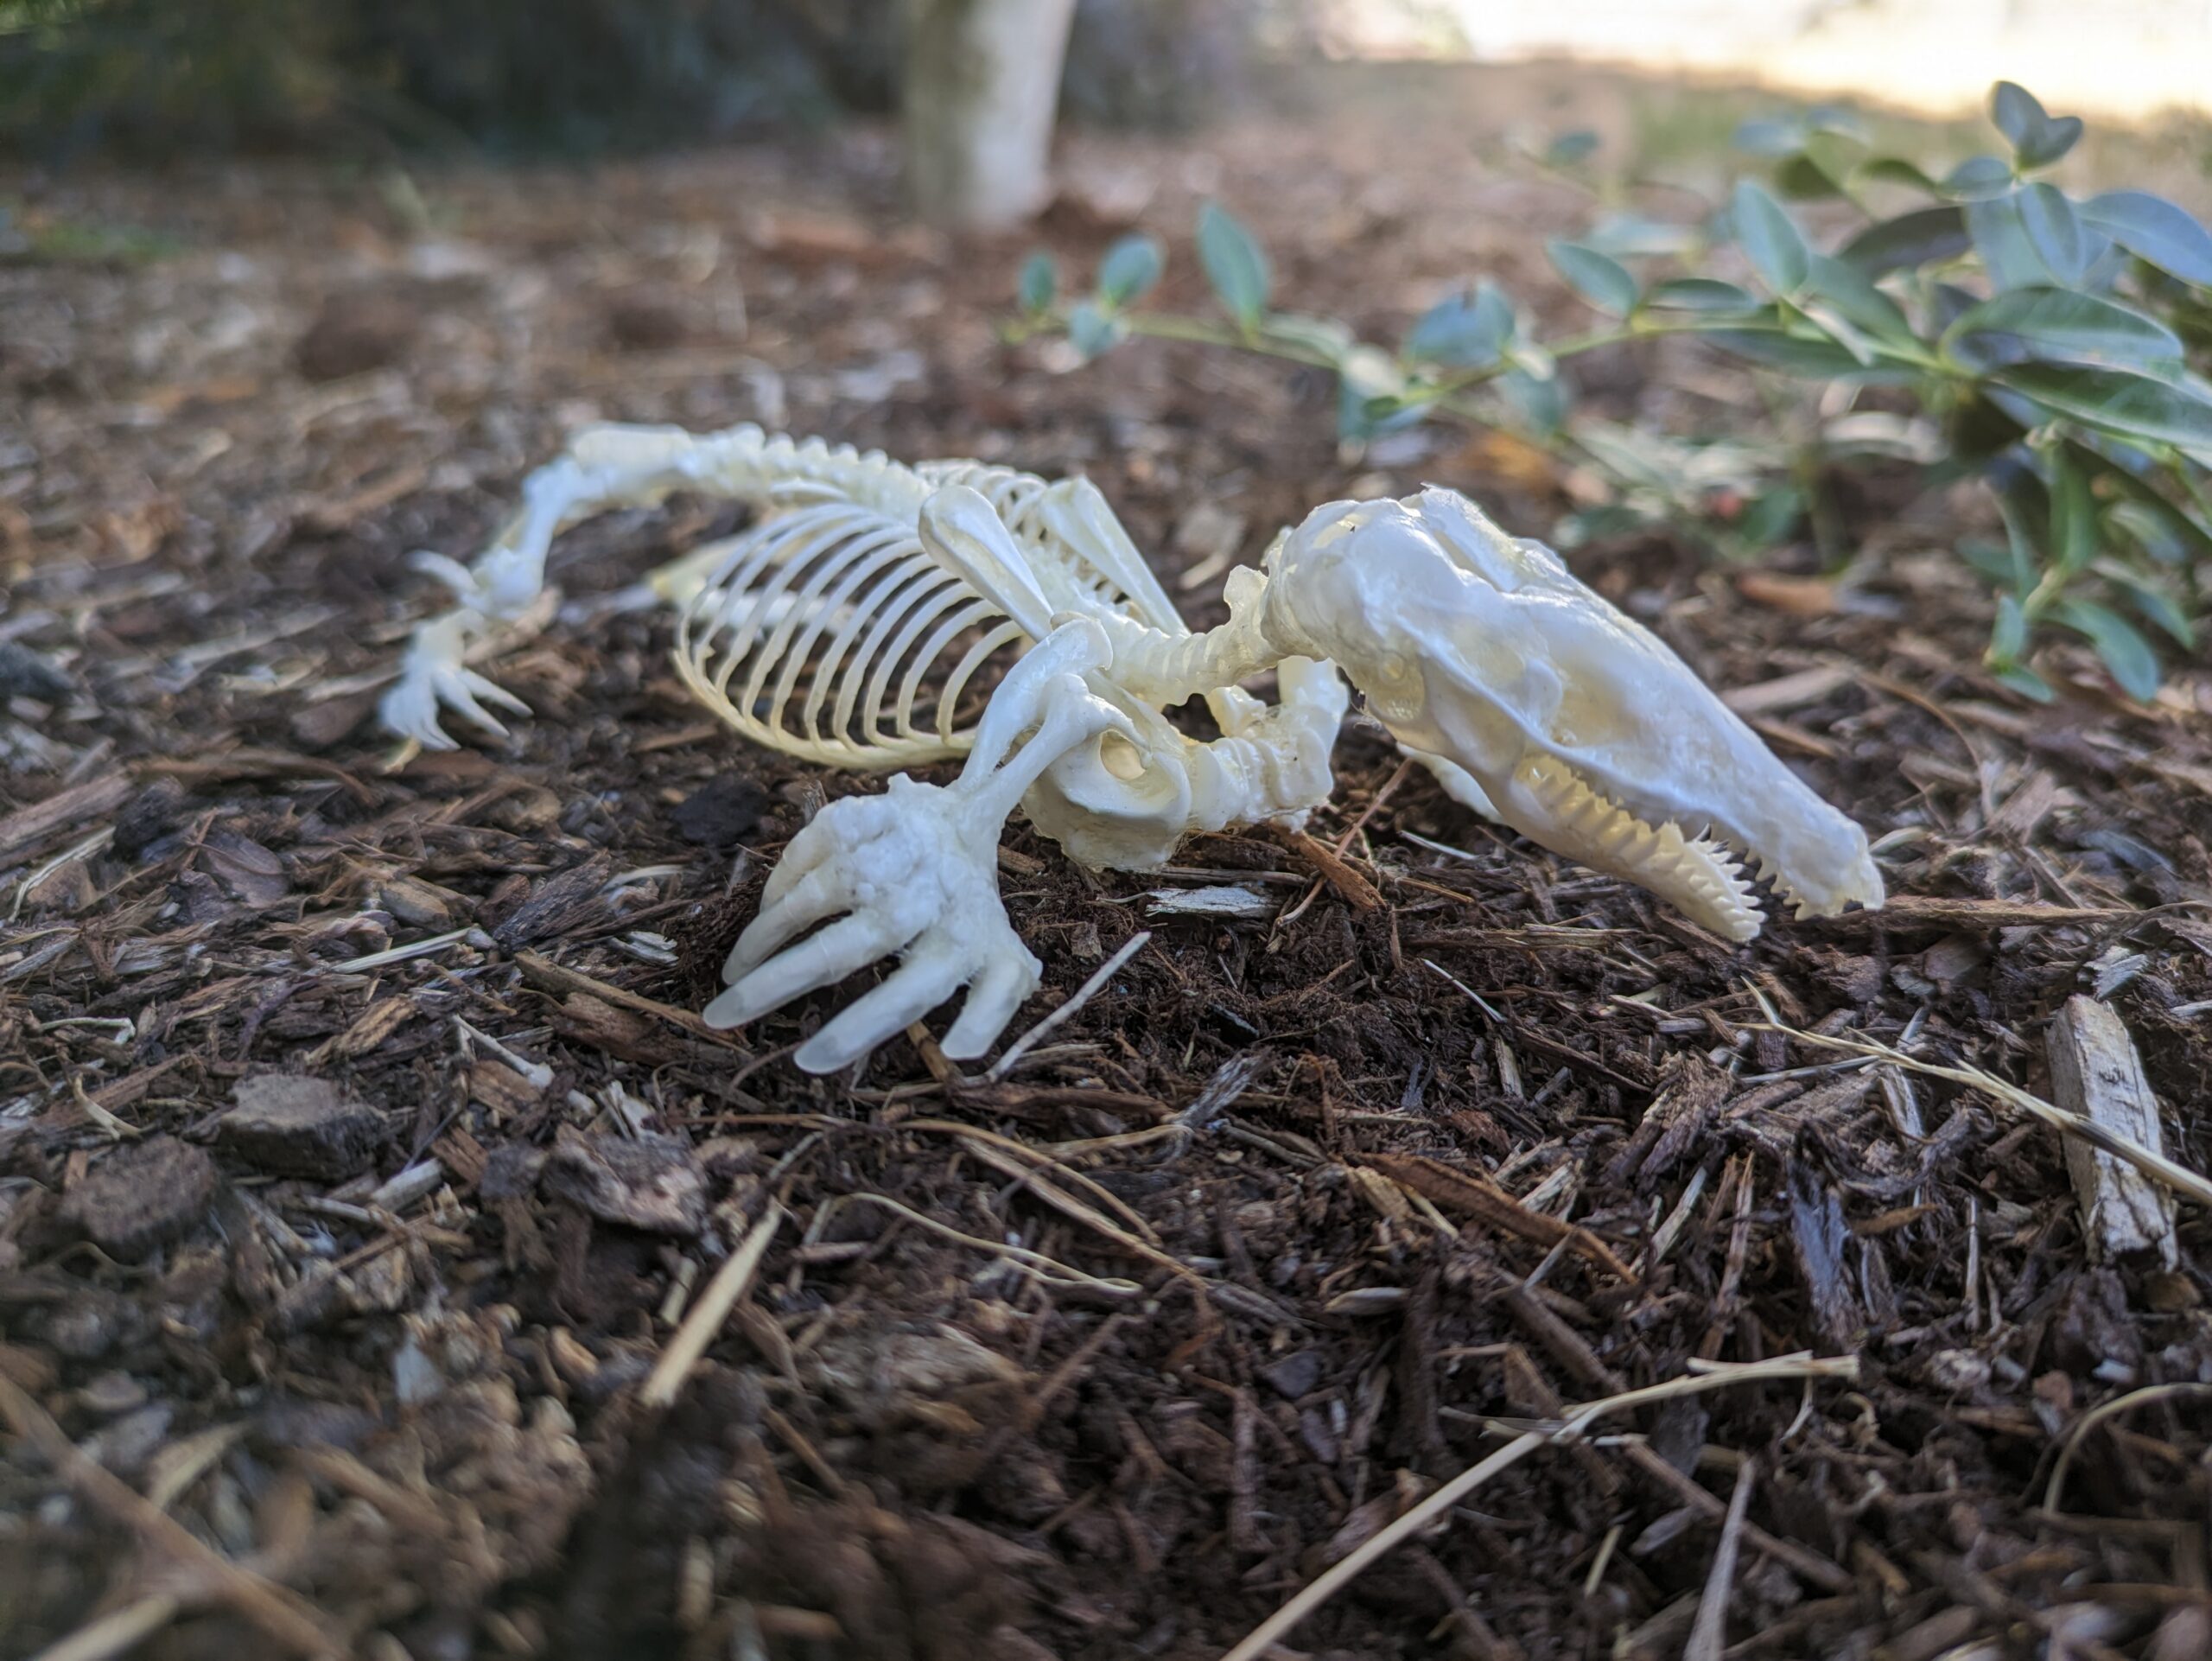
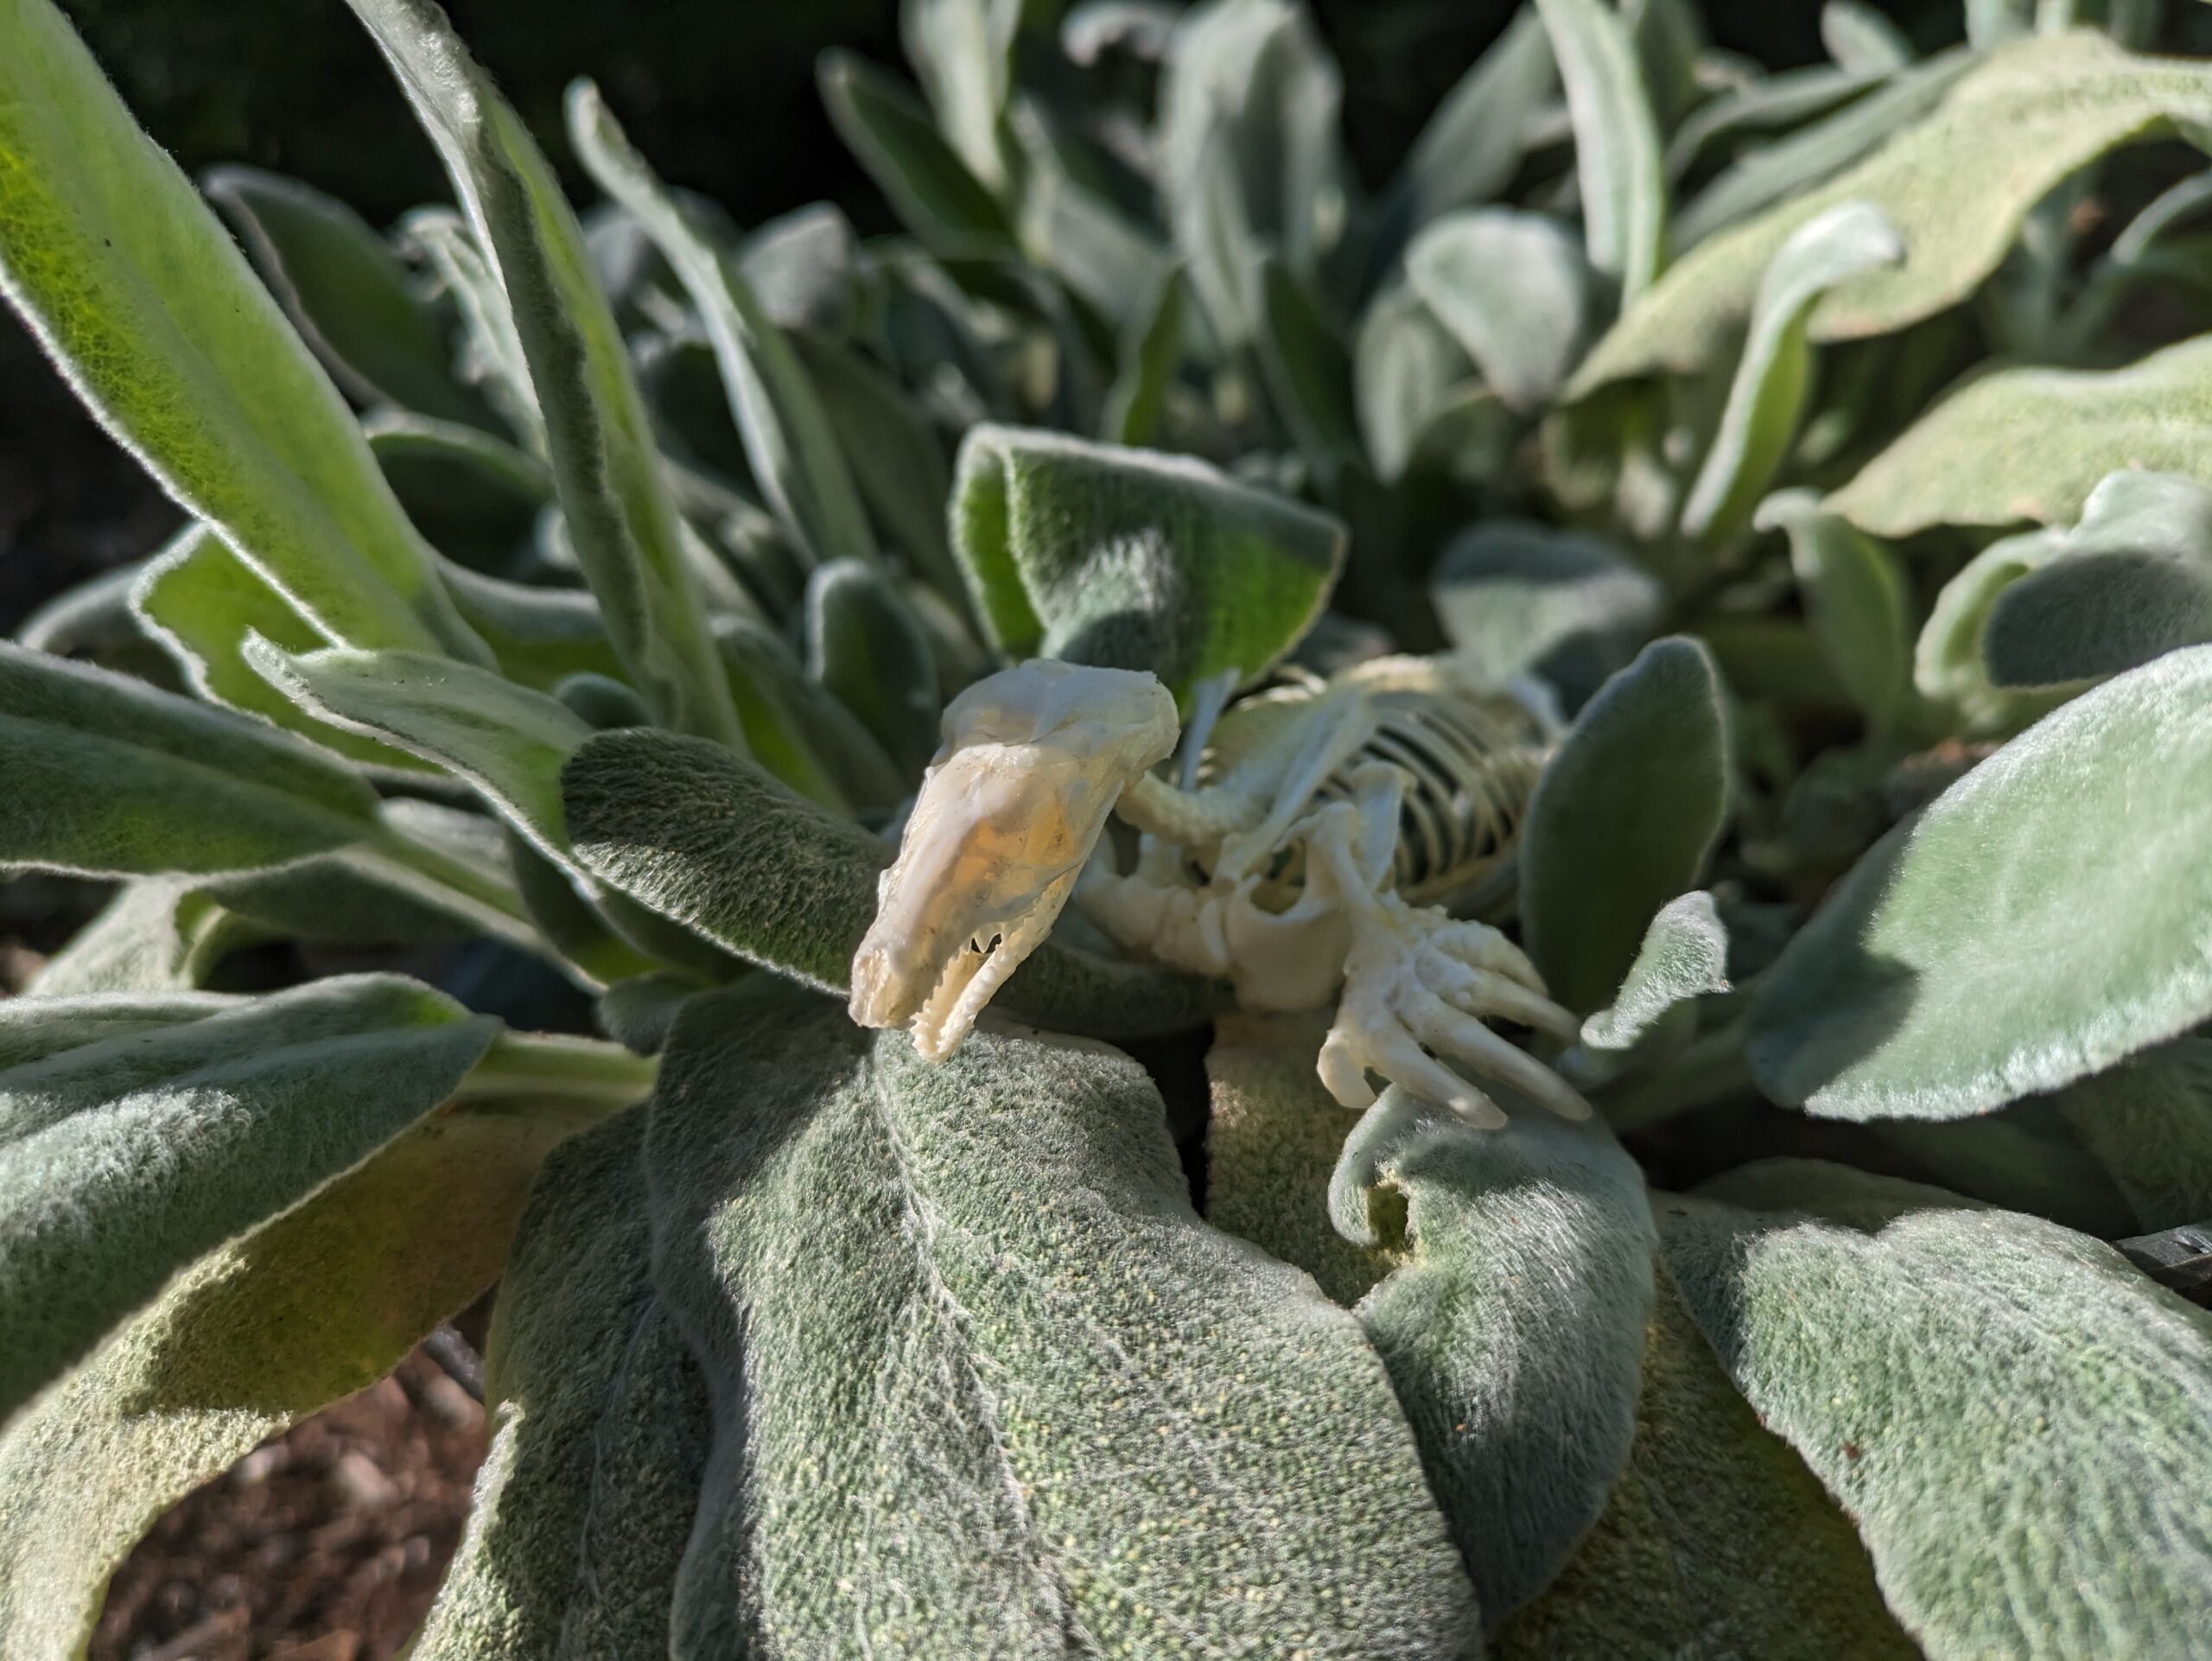
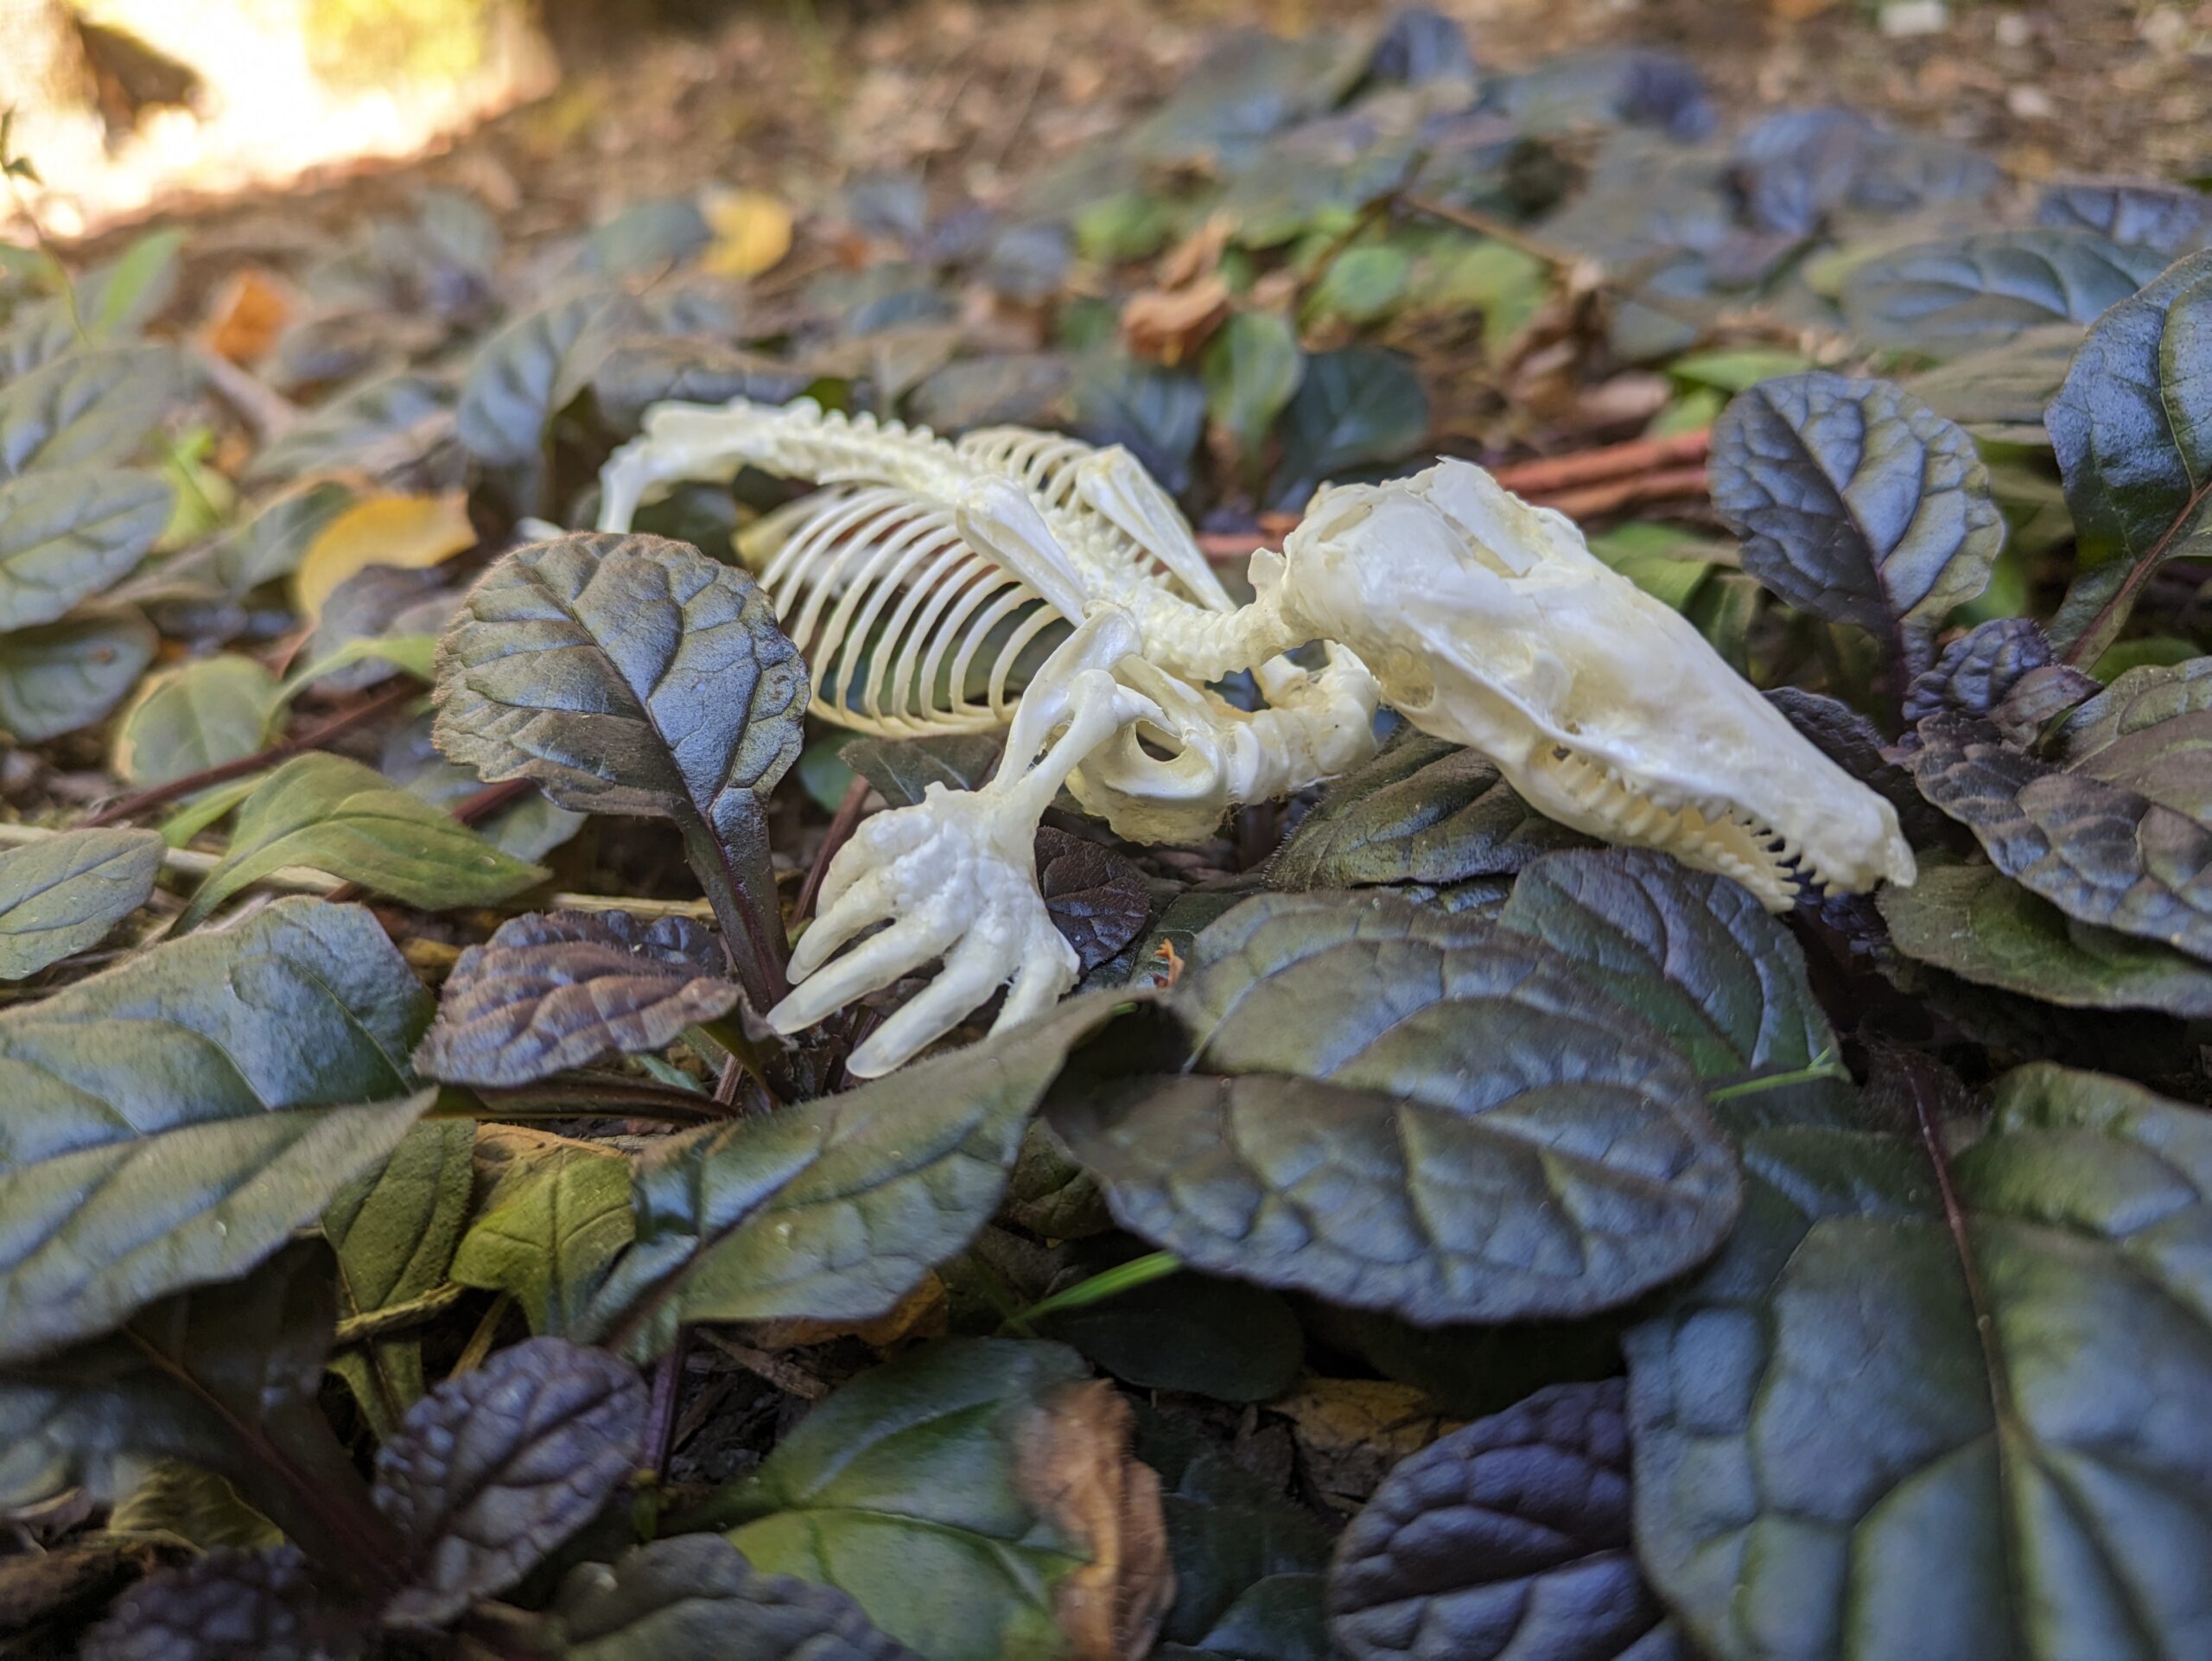
And now we have a beautiful, fully articulated skeleton to celebrate and enjoy!
Death is not the opposite of life, but a part of it.
Haruki Murakami

